Application Setup
Before we begin, there are some assumptions being made. One, that you are a Company Manager and either you, or someone you are working closely with inside of your company is an SAML Administrator. Two, you have registered with Brilliant using your company email address.
After the above criteria has been established, the steps involved in setting up the SAML SSO application include:
- Login to Brilliant using your email address and password
- Navigate into your Company -> Automations -> SAML Integration General Settings
- In a separate browser tab or window, login to your SAML provider
- Create a new SAML application, Brilliant recommends using the SCIM Provisioner with SAML (SCIM v2 Enterprise, SCIM2 PATCH for Groups) application type:
- Give your new application a name, for example “Brilliant SSO”
- Follow the instructions below to complete your integration
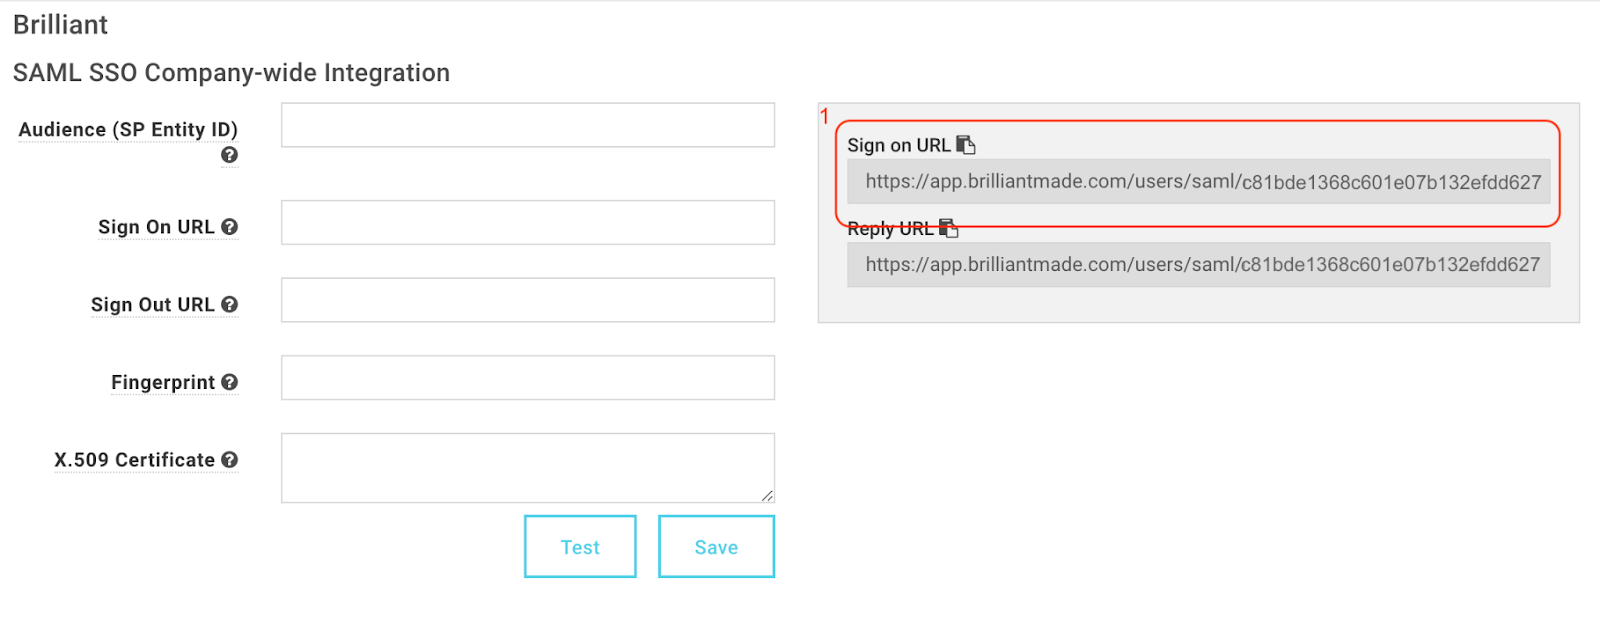
After naming and saving the application, navigate to the SAML integration page within Brilliant. Copy the value for Sign On URL (1) and enter into the SAML Consumer URL field in your SAML provider
Provisioning Options
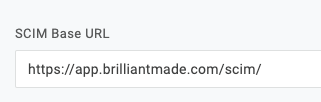
Enter http://app.brilliantmade.com/scim/ in the SCIM Base URL field:
In the SCIM JSON Template field, enter the below JSON:
{
  "schemas": [
    "urn:scim:schemas:core:2.0",
    "urn:scim:schemas:extension:enterprise:2.0"
  ],
  "externalId": "{$user.uuid}",
  "userName": "{$user.email}",
  "name": {
    "familyName": "{$user.lastname}",
    "givenName": "{$user.firstname}"
  },
    "displayName": "{$user.display_name}",
  "emails": [{
    "value": "{$user.email}",
    "type": "work",
    "primary": true
  }],
  "title": "{$parameters.title}",
  "urn:scim:schemas:extension:enterprise:2.0": {
    "department": "{$parameters.department}",
    "manager": {
      "value": "{$parameters.external_manager_id}",
      "displayName": "{$user.manager_firstname} {$user.manager_lastname}"
    }
  }
}
In the Custom Headers field, enter the below:
Content-Type: application/scim+json
In the SCIM Bearer Token field copy the SCIM Bearer Token field from your SAML integration config page:

Single Sign-On Configuration
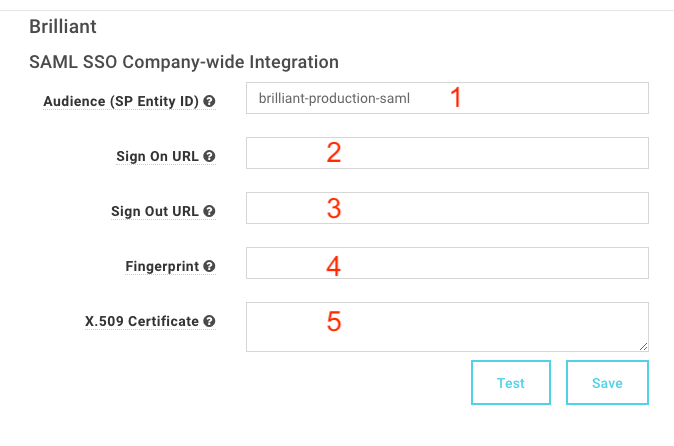
In your SAML provider, enter the SSO pane for your application and copy the relevant fields into the Brilliant SAML page:
- Enter a value in the Audience field (this can be any value)
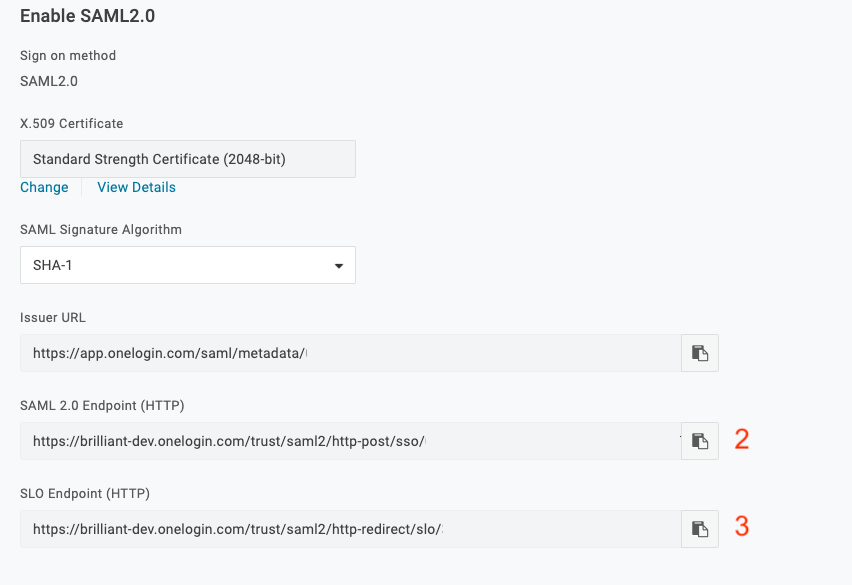
- Copy the value from SAML 2.0 Endpoint (HTTP) into the Sign On URL field
- Copy the value from SLO Endpoint (HTTP) into the Sign Out URL field
- Under X.509 Certificate in OneLogin, click View Details and copy the SHA1 Fingerprint into the Fingerprint field
- Copy the X.509 Certificate into the X.509 Certificate field in Brilliant.

Questions or Issues?
Email [email protected] for anything related to our SSO integrations.